
In diesem Tutorial wird Ihnen erklärt wie Sie unter Windows 10 Hyper-V installieren können. Hyper-V ist ein Hypervisor aus dem Hause Microsofts. Alternativ können wir Ihnen Proxmox empfehlen.
Voraussetzungen für Hyper-V
- Windows 10 Pro, Enterprise, oder Education
- 64-bit CPU mit SLAT
- CPU Unterstützung für Virtualisierung muss im BIOS aktiviert werden (Intel VT / AMD-V)
- 4GB RAM (Empfehlung von Microsoft) wir empfehlen mehr als 16GB
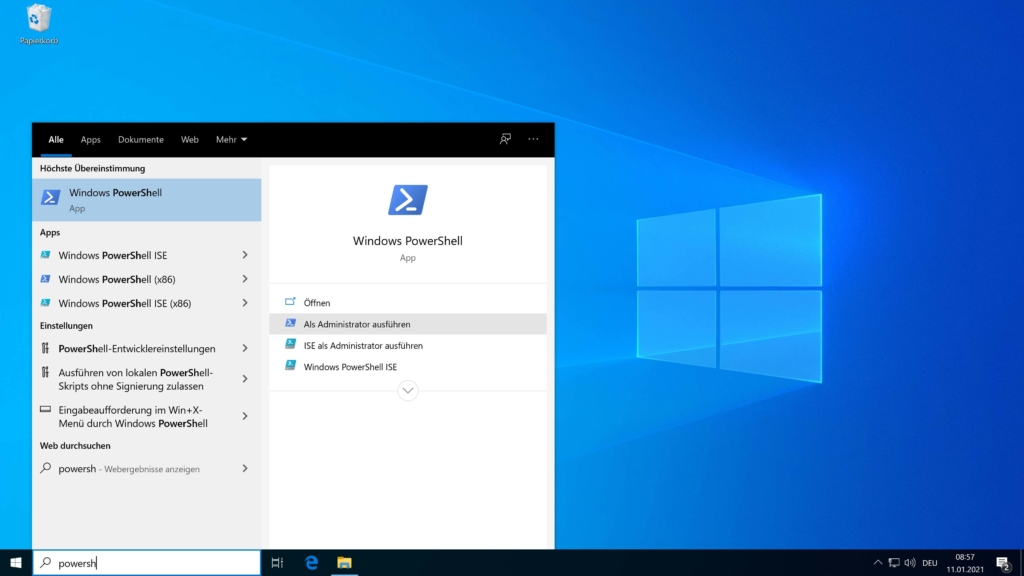
1. Powershell als Administrator Starten
Suchen Sie in der Suchleiste nach PowerShell und starten Sie PowerShell als Administrator.
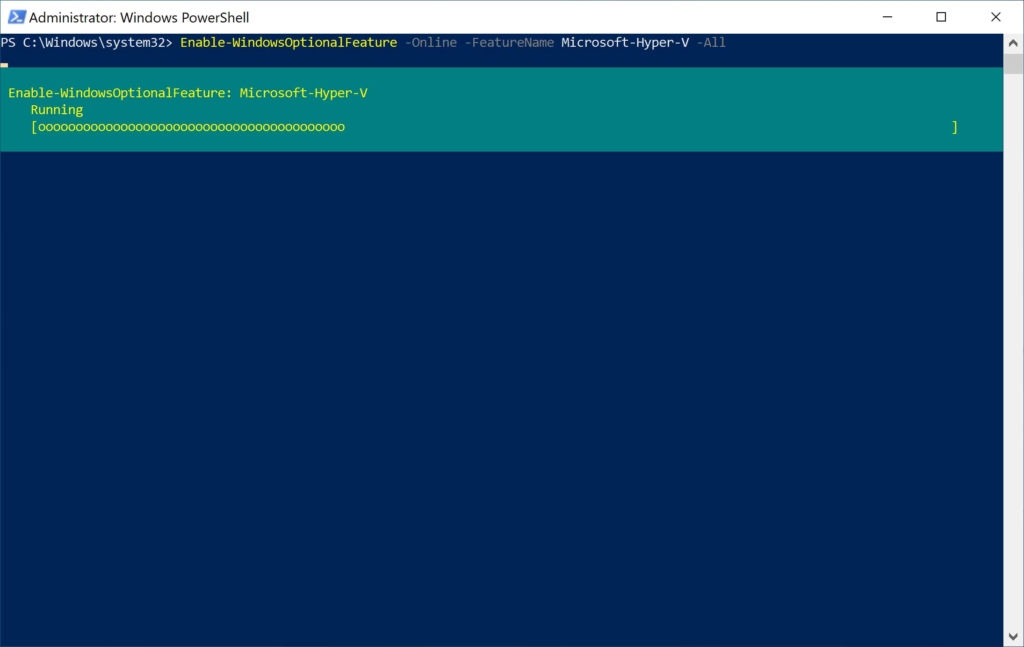
2. Windows 10 Hyper-V installieren
Geben Sie den folgenden Befehl in PowerShell ein um Hyper-V zu installieren.
Enable-WindowsOptionalFeature -Online -FeatureName Microsoft-Hyper-V -All
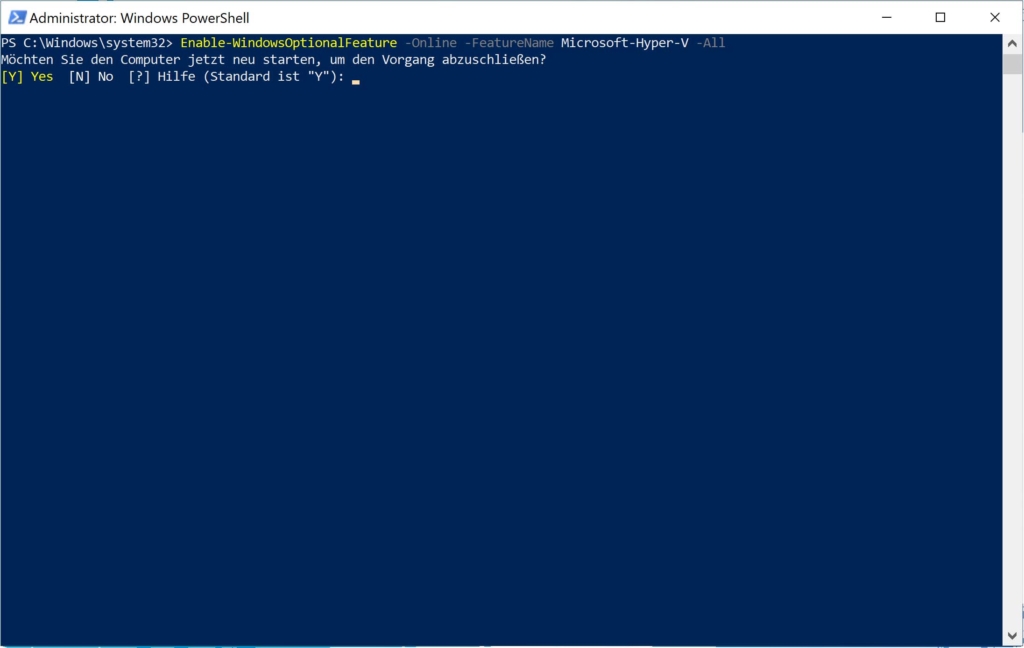
3. Windows neu starten
Bestätigen Sie mit Y um den Computer neu zu starten.
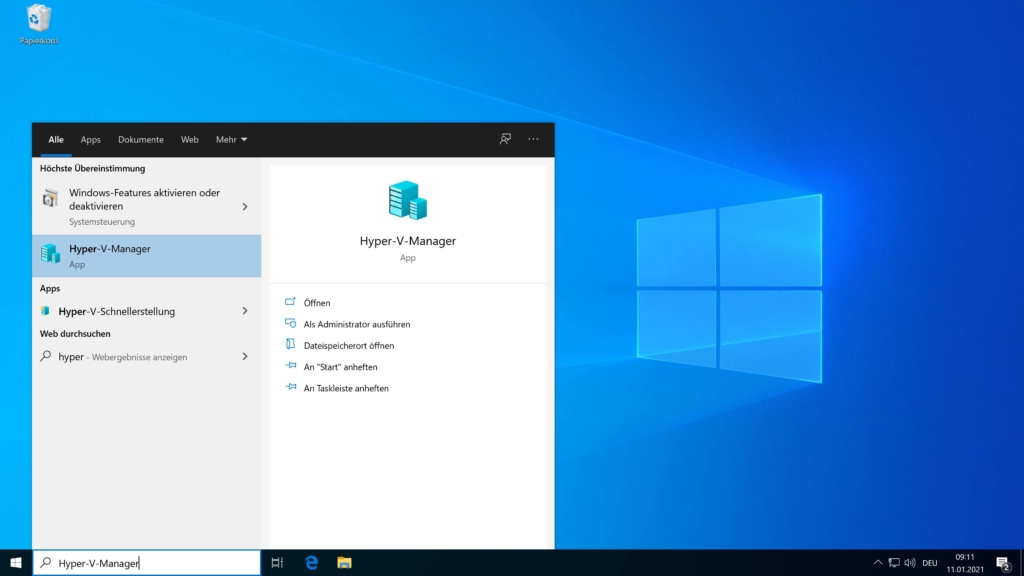
4. Starten Sie Hyper-V
Sie können nun Hyper-V Starten und damit beginnen Virtuelle Maschinen zu erstellen.
5. Hyper-V Remote Management (Optional)
Optional können Sie nun auch noch Hyper-V Remote Management aktivieren um ihren Server auch von einem Client aus über den Hyper-V Manager zu steuern.
What are the system requirements to install Hyper-V on Windows 10?
Regard IT Telkom
Processor:
64-bit with SLAT (Second Level Address Translation) is essential. This feature allows for efficient virtualization. Intel processors with VT-x and AMD processors with AMD-V are compatible.
RAM:
A minimum of 4 GB of RAM is required, but more is highly recommended to support both the host operating system and multiple virtual machines simultaneously.
Storage:
Sufficient disk space is needed for the host OS and all virtual machines. Solid State Drives (SSDs) are recommended for better performance, especially for disk I/O intensive operations in virtual machines.